Wednesday, May 28, 2014

FRENCH WINE AND SPIRITS WALL ART


FRENCH WINE AND SPIRITS WALL ART

The sign is done on a cabinet door I bought from Our Towns habitat for humanity’s restore. The technique that I am going to teach you is universal and can be used on many different surfaces.


WHAT YOU NEED: 


Cabinet door
Spray paint
Acrylic paint
Foam brush
Gel medium
The picture you want to transfer
Minwax furniture wax

HOW TO:

1) Spray paint the door whatever color you want the base color to be. I used a grey blue color

2) Once the base coat is dry, spray paint the top coat, I used an off white

3) Once the top coat is dry rough up the edges to show the undercoat

4) Measure out your printed design to make sure it will fit. NOTE: Make sure you flip your image so once everything dryers it will be facing the right direction. This can easily be done in Microsoft publisher.

5) Put down a layer of Gel medium wherever you would like the image to be with a foam brush.

6) Place the image Ink side down into the gel

7) Wait 24 hours until it is completely dry

8) Soak the paper in water and gently rub the paper off leaving the image. NOTE: do not do this too hard as the ink will come off and rub your image right off.

9) Once all the paper is gone and the door is completely dry, mix your acrylic paint using the base coat and top coat colors. For example since my base coat was a blue grey and my top coat was white. I mixed 1 drop acrylic blue, one drop acrylic black, and about 6-8 drops white. Mix this lightly together so that it is not all one color but a tie-die effect.

10) Using the foam brush lightly sweep the color all over the sign. You want it to look worn NOT smothered in color. You may want to practice on another piece of paper before attempting it on your sign.

11) Once it’s all dry polish it lightly with Minwax furniture wax. This will protect the ink and keep it from fading.

You’re done! I hope you liked this tutorial! don't forget to check out more inspiring ideas at Pink Punk Design
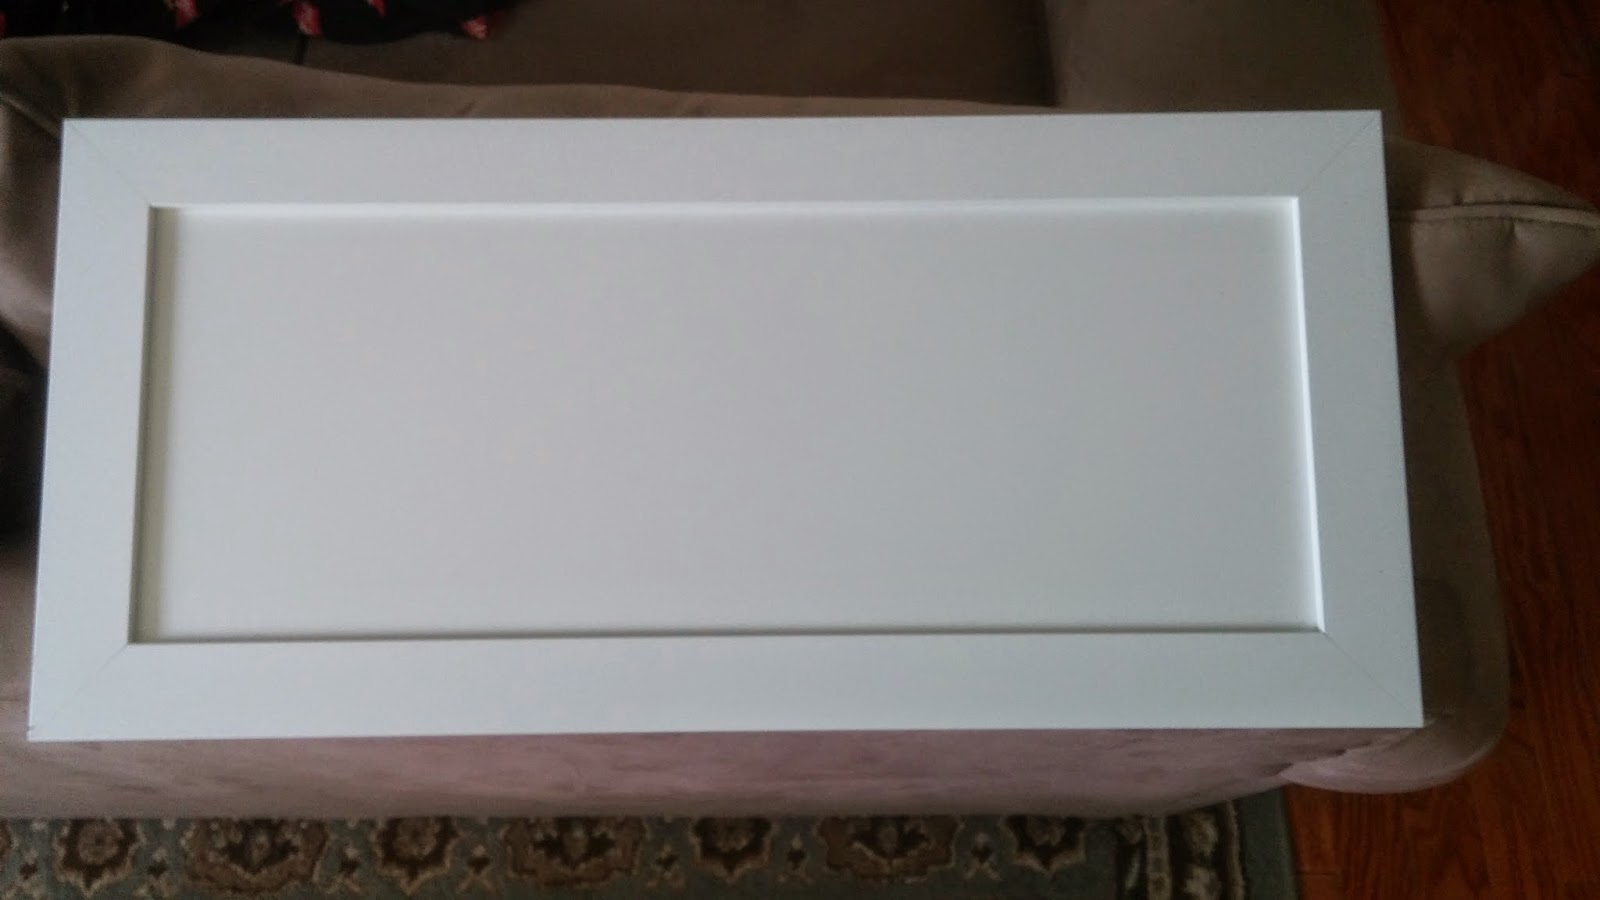


BEFORE: 


AFTER:


Friday, May 23, 2014

How to Make an Outside Birdcage Light


I bought this bridge with the intent of making it into a bird feeder; however after looking at it a bit I thought it would be much cooler as an outside birdcage light that I hung from the tree. 


WHAT YOU NEED:

Birdcage
Spray polyurethane
Mini shade (the ones you put onto the small lights of a chandelier)
Solar light

HOW TO: 

1) If your birdcage is not painted go ahead and paint it whatever color you would like. I bought mine as a steal at an antique mall and it was already painted for me. 

2) Spray polyurethane over the entire thing. This will repel the weather it will be going through and preserve the paint from chipping. 

3) Place the birdcage wherever you would like it to be (in a tree, on a shepherds hook, sitting on your porch ext.)  

4) Take apart the mini shade leaving ONLY the wire frame

5) Take the post off of the solar light which will leave a small round “nub” at the bottom. 

6) Place the mini shade upside-down in the cage. 

7) Place the solar light in the two rungs that would normally hold the light if it were to go onto a chandelier. The "nub Should fit into the wire.


ENJOY! You’re done!
I wish I could show you the cool design the light makes on the ground but the camera would not pick it up! It’s really beautiful!


Tuesday, May 20, 2014

Ikea side dresser into a unique piece of furniture


Hello Again! Its Karen and Laurie from Pink Punk Design!

Today we are going to show you how to make an Ikea side dresser into a unique piece of furniture! 

You can buy a 3 drawer chest from Ikea for $34.99 it’s unfinished so it’s a perfect canvas for creating your person style. This is what we did, but like always use your imagination and personal style to create yours!


WHAT YOU NEED: 

3 drawer chest
Paintable wallpaper
Wallpaper adhesive
White primer
Pink Spray paint
Silver Spray Paint
Drawer knobs

HOW TO:  

1) After putting together the chest spray paint the inside of the drawers pink or whatever color you choose!

2) Paint the rest of the chest with white primer

3) Measure and cut the paintable wallpaper to fit all sides, top, and front of the drawers.

4) Adhere the wallpaper to each section paying close attention to the corners and edges.

5) Once it’s dry spray paint the chest all silver or once again whatever color you choose.

6) Add the new knobs once the whole thing is dry

- YOUR DONE! -

Hope you have fun! And if you have any questions please feel free to ask below and visit us on Pink Punk Design for more creative ideas. 


CHAIRS TO BENCH!


Hello everyone! 

I thought I would take a minuet to teach you how to make a bench using chairs. Laurie and I have made 2 of these in the past and they are unique one of a kind pieces that will have your friends asking you were you got it. 

The Key to this whole project is to make sure that your chairs are ALL the same height. You can use 2 chairs or 3 or really as many as you would like! Note that 2 or 3 chairs are your stranded with for a bench but be creative and use your imagination.The chairs DO NOT have to be all the same style! As long as the hight is all the same you are good!


WHAT YOU NEED:

2 -3 Chairs
Cordless screw gun
Drill bit
Screws & Nuts
Wood
Fabric
Padding
Spray glue
Paint

HOW TO: 

1) Align your chairs up next to each other so they are touching

2) Every spot that the chairs come in contact with each other drill a hole from one chair to the next. For example were the legs touch drills a hole from one leg into the next. Do this to all the legs and parts of the seat that touch.

3) Put the screws into each drilled out hole and lock them tights with the nuts. 

4) Cut your wood to fit across all the seats of the chairs. Taking special note to any curves in the chairs. You want this to be the new top to the seats. 

5) Screw the wood you just cut to the tops of the chairs. 

6) Paint the entire piece however you would like or keep it natural it’s all up to you and your creativity. 

7) Once the paint is dry pad the tops of the seats. Use the spray glue to adhere the padding to the top of the chairs. 

8) Upholster the chair in the fabric you choose. And you are DONE! 


NOTE that you DO NOT have to pad or upholster the chairs if you do not want to. This is your personal preference. Also you do not have to align the chairs up diresctly side by side. Try aligning them from to front for an even more unique look! And if you have any questions please feel free to ask below. I will answer them as soon as I can. Also visit up on Pink Punk Design for more tips and tricks and ideas.   


SOME MORE IDEAS: 


Wednesday, May 14, 2014

French Window Topped Table!


Hello everyone! Its Karen here from Pink-Punk-Design with another how-to project for everyone! 

Recently Laurie and I participated in the ReStore ReStyle challenge. For those of you who may not be familiar with this event it is an exciting fundraiser that highlights the 3 R's of the ReStore: Reuse, Recycle and Repurpose. The competition challenges 8 DIY designers to create a 10x10 room using only donated ReStore items while competing for 3 awards.

This year we created a mud room and received a lot a great feedback on our custom pieces. We utilized a lot of odd things to create new and unique items. Doors, windows, cabinets, fire place mantels and a toilet paper holder just to name a few. 

We however want to share with you how we built some of these items so that you yourself can build them to! One of the first things we want to show you is how we made our:


French Window Topped Table!


What you need:

  1. 1 - square table (with a table top that is able to be removed from the frame of the table)
  2. 1 - old French window (one that is as big as the table top you will be taking off the table from)
  3. Paint
  4. Glass
  5. Paintable wallpaper *optional

 How To: 


1) Take the table and remove the table top leaving only the base.
NOTE: Normally this can be done by unscrewing the top and using some force to pry the top off. The reason for this is because manufactures not only screw the table top onto the base but also glue it. So some force will be necessary. 


2) Once the Top is removed paint the base
NOTE: Priming the table is strongly recommended before applying your final color


3) Prime and Paint your French window 


4) *Optional*: Apply paintable wallpaper to the inside and outside of the top rim of your table top. This is a personal preference and is not necessary but is cute if you want some visual effect when looking through the window. 

5) Once the base and window are fully painted place the window on top of the table base.  
NOTE: if you did not add the paintable wallpaper you may want to add some sort of nonslip tape to the top rim of the table before adding the window. 


6) Have a piece of glass pre-cut to fit the top of the window and add it to the top of the now new table. 

7) Make sure that the table is sturdy and that your window is not going to fall of the first time you bump into it.


And that is how you make a French window table….. Or Desk if you prefer! If you have any questions please leave them below and I will answer them as quickly as possible. Also if you would like to see more of the items we made for the event; visit us on facebook at Pink-Punk-Design!