Saturday, March 28, 2015

ReStore ReStyle: Meet the designers

OUR TOWNS RESTORE
MEET THE DESIGNERS
ReStore ReStyle designers will compete creatively through the design and execution of their rooms. They’ll compete for top fundraising honors as well.

Best Room
•Judge’s Choice
Most Creative Use Of The Mystery Item
Peoples’ Choice Award
(Public will donate money deposited in a box by your room. To be awarded at the end of the night.)

Top Online Fundraiser
(Public can vote by making donations online before leading up to the event.)
The Top Online Fundraiser award is determined by the amount of money collected through online donations before April 28.

Click on the Donate button below your designer’s name to vote with your dollars!

To apply for next year's ReStore ReStyle Design Challenge email restore@ourtownshabitat.org 

Team 1: Lesley Park 

Room: Home Office

DONATE

I enjoy thrifting, yard sale shopping and occasionally perusing the curb.

As my husband so lovingly states: “No more curtains; we only have so many windows!” Or, “No more lamps; if I SEE another lamp…”

In my spare time (also known as when you can't catch me in a thrift store, or hauling furniture off someone’s curb), I enjoy volunteering at the Mooresville ReStore, eating Mexican food, and bingewatching Netflix. It’s the little things…


Team 2: Andrea Hartley 

Room: the Spare Room (office/guest room)

DONATE

I’m a stay at home mom by day and a mad junk-loving scientist by night, piecing together parts and pieces of anything from furniture to construction scraps and give them new life.

I love taking the old, ugly, and unwanted stuff and turning them into something amazing and desired. I have been so blessed to be a participant for the past three events. I have met extremely talented designers from this area, passionate ReStore volunteers/staff, made amazing friends, and started a career doing what I love to do.


Team 3: Marie & Denis Graham

Room: Living Room

DONATE

Denis and I have been a team for 34 years, married almost 30 of them. We have three children and moved to Lake Norman almost three years ago from NY.

We just finished building our new home here in Mooresville and that's when I really got into restyling. I am the creative one. I love to paint, restore, find a new purpose for just about anything. Denis is the braun.

I have found that if you incorporate the past, whether it be from 100 years ago or 100 days ago, into your design style, you preserve it and give it new life. Great design doesn't have to cost a fortune, just some elbow grease and a great thrift store.


Team 4: Becky Charles 

Room: Bedroom

DONATE

Becky Charles, owner of Beckwith Interiors, LLC, is an Interior Designer based in Mooresville, NC. She designs for commercial as well as residential. She has previously competed in the ReStore ReStyle Challenge in 2011 and 2012.


Team 5: Meyetta Grimes 

Room: Kids Room

DONATE 

A Workforce Strategy Analyst in Charlotte, Meyetta "Meme" Grimes is a self-described HGTV addict. She is a do-it-yourselfer who likes to transition everyday items into unique artistic pieces.

She had a vision to help people transition their
spaces without spending a fortune to do it. In She has also started conducting “What Would Meme Do Workshops” where she teaches others how to repurpose unique items and what others would consider trash into treasures. She hopes to grow her vision for her slogan "Get Your Grime(s) On" in the near future.


Team 6: Lynn Noble

Room: General Store

DONATE 

I am so excited to return for a second time to Restore Restyle. Since last year's event, I have continued rescuing pieces to make one of a kind items for someone else to treasure! My husband and I still reside in Statesville where I have commandeered a corner of the company warehouse for work and storage.

Yep...our garage is still a mess but I needed room to work on multiple projects at a time.

I love trading techniques and sharing ideas with my fellow rehab fanatics. I get inspired by the creativity
of others.

When I can't sleep, I think about paint colors and projects and happily drift back off to dream of new and projects and happily drift back off to dream of new tools! 


Team 7: Krissy & Scott Ferguson 

Room: Study/Library

DONATE

Krissy Ferguson & Scott Ferguson are new to the lake Norman area and both work at an architecture firm in uptown Charlotte. In their free time they enjoy finding old furniture that can be refinished and displayed in their home.

Their next projects around the house include building a bar for the dining room, as well as some built-in shelving and desks for their home office. They are hoping that through participating in the Restore Restyle they can show off some of their design talents while helping out the community.

Team 8: Betsy Hazelton, Marcia Makl & Dolores Lindley
Room: Breakfast Nook
DONATE


Marcia Makl

Although Marcia Makl’s career was in Information Technology and computing, she has always been involved in DIY projects.

DIY projects come naturally as does recycling and appreciating old and repurposed objects. With pottery classes at Clayworks and the Cornelius Arts Center, she found an artistic outlet to balance her highly technical professional career. Marcia will bring both her problem solving dolores lindleyskills and her artistic flare to the Restore Restyle challenge.


Dolores Lindley

Dolores holds a certificate of foundation skills and advanced skills from City & Guilds The City and Guilds of London Institute — Decorative Techniques and Restoration. She is a student of art and shares her love of fine art through volunteering. She also enjoys painting canvas floor cloths.


Betsy Hazelton

Betsy Hazelton has been a painter, illustrator, product designer and creative director for many years. Much of her product design, product development and creative direction has been in the Home Decorative industry. She is also an avid recycler and restorer so she is very excited about repurposing for the home and being able to participate in the upcoming 2015 Restore Redesign Event. 


*** Don't forget to purchase your tickets HERE for the ReStore ReStyle Design Challenge Event on April 28 @ 6:30pm at the Mooresville ReStore location.
131 Norman Station Blvd 
Mooresville, NC 28117


2015 ReStore ReStyle Designer Challenge

Have you purchased  your tickets for the 2015 ReStore ReStyle Event yet? Purchase your tickets NOW and get them at a reduced price of $15! And here's a new twist this year... all items in the designed rooms will be for sale and can be TAKEN HOME the night of the event! If you want to see what kind of fabulous designs come from the ReStore, you must attend the event! Click HERE to get your tickets now.

**Don't forget to vote for your favorite designer the night of the event for the People's Choice Award or click HERE to support them with online donations.***

See you at the show!

Monday, November 10, 2014

I'm Dreaming of a Green Christmas!

I had noticed during my recent shopping trips to my 2 local Restore locations, that they were bursting at the seems with these fabulous ginormous light bulbs.


So, I set out on a mission to figure out something crafty to do with them since I really didn't have the need nor the fixture for a 1000 watt light bulb....

I always thought that the painted light bulb ornaments people make that I have see at craft fair and festivals are adorable so I thought I would build on that to create something cute and crafty.

These snowmen are extremely easy to create and assemble. The possibilities of textures and finishes are also endless, so I picked my top 4 and will list the materials and steps for each finish.

Basic materials needed:
Light bulb
Styrofoam or other base material
Paint
Styrofoam sealer
GLITTER!!! :)
Black Felt or thick black paper for hat brims
Glue and spray adhesive
Felt for bottoms
Either felt or ribbon or other matrial for scarves

Step One: Get your bases and hat brims ready. I am recycling basic Styrofoam that was used as packing for my printer as well as blue marine Styrofoam from the marina across the street from me that was heading to the dump. I cut the pieces to my desired size using a Styrofoam cutter I got at my local craft store until it broke and then I used a sharp steak knife. Next I cut out a hole in the center large enough for the base of the bulb to fit tightly inside. I found the easiest technique for that was positioning the cap from a can of spray paint on the block in my driveway and pushing it through with my foot and then used a wood skewer to poke through the bottom side and push cap back out of the foam. After you have your base cut, you will need to seal all surfaces with foam sealer (from craft store.) This will keep your foam from melting later when you apply glue or paint to it. Place foam aside and let dry.
Prepare hat brims by cutting a "donut" shape with black felt or paper with the center hole large enough to slip over the metal screw in base of the bulb.

Step 2: Paint bulbs
The type of paint is solely based on either whatever you have laying around or desired finish.

    •For a iridescent or "Mercury Glass " finish I simply used a "pearl finish" spray paint and did several thin layers until I achieved the desired effect.


    •Opaque white finish or for a "fluffy" textured snow finish you can use either white spray pain in several thin layer or an acrylic or latex paint.

     (* Tip: If you will be painting with an acrylic or latex paint, stir in a bit of mod podge in with your paint to make it "stick" to the glass and less likely to scratch or peel off.)


           B.               


    •Clear Crystallized finish: I simply used Clear glaze spray paint and sprinkled "icey" glitter onto the freshly applied wet paint.


**The Styrofoam sealer dries fairly quick and I was able to use my bases to hold the bulb while the paint dried.

Step 3: Final finish on Bulb
Glitter glaze and seal

For iridescent and Mercury glass as well as the "crystallized" finishes:  simply applied a clear gloss glaze spray paint.

For plain flat white, I used a satin clear coat spray paint.

☆"Fluffy" Textured: I used  glitter and "spray spackle" and "textured ceiling repair" (both from Restore) and sprayed bulb in light layers letting it dry before applying additional layers. A flat clear glaze spray paint can be used in light layers but not necessary.

♢ Paint the base (the metal screw in part) of the bulb black

Step 4 Assemble bulbs and bases:
You may use either hot glue or a foam safe glue as well as spray adhesive to attach the bulbs to the foam base. Once bulb is in place, begin applying your finish textures. Some different ideas are:
      ☆spray glue and flakey glitter.
      ☆spray spackle
      ☆"snow" material

Step 5 Final Finishes:
▪Attach hat brims with a small drop of glue. Paint or glue faces and buttons on. (I used a black "puffy paint" sold in the fabric paint section of the craft store) Use tiny twigs for arms or brown floral wire or simply paint them on.
▪I used recycled tiny plastic ornaments for one of those green ceramic Christmas trees for most of my noses by simply cutting off the stem and gluing to the face.
▪Tie scarfs made from ribbon or yarn around their necks.
    *I also used a white gel pen on black construction paper to create the "Let it Snow" and "Merry Christmas" etc. signs and simply glued them in place.

Imagination is the key, use what you got laying around to make your snowman extra special and creative.


Wednesday, May 28, 2014

FRENCH WINE AND SPIRITS WALL ART


FRENCH WINE AND SPIRITS WALL ART

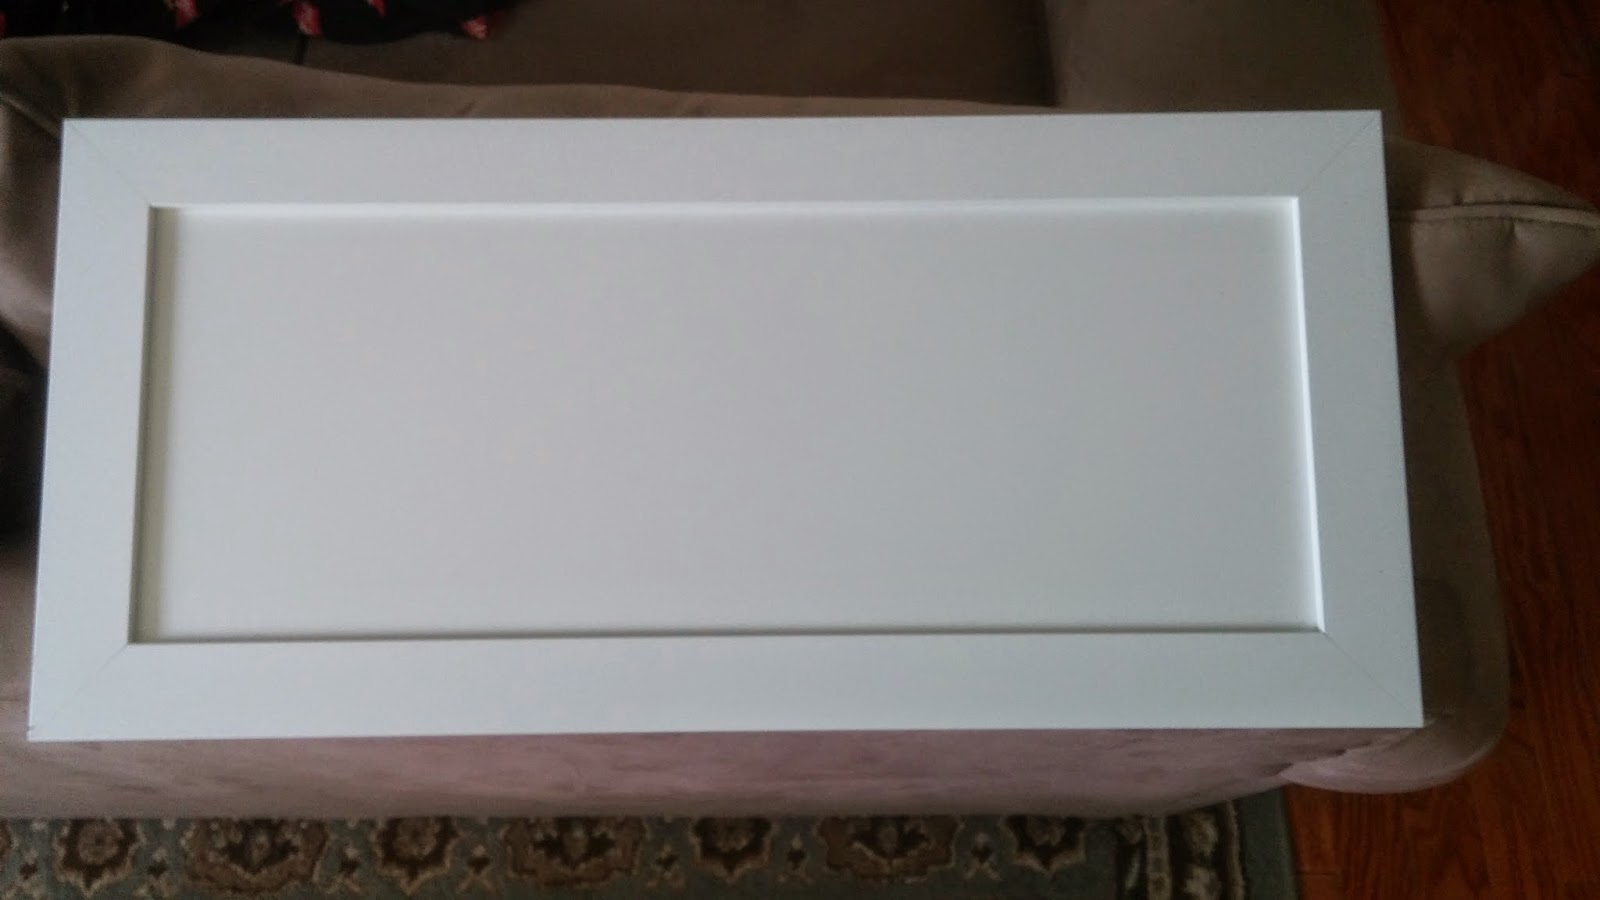
The sign is done on a cabinet door I bought from Our Towns habitat for humanity’s restore. The technique that I am going to teach you is universal and can be used on many different surfaces.


WHAT YOU NEED: 


Cabinet door
Spray paint
Acrylic paint
Foam brush
Gel medium
The picture you want to transfer
Minwax furniture wax

HOW TO:

1) Spray paint the door whatever color you want the base color to be. I used a grey blue color

2) Once the base coat is dry, spray paint the top coat, I used an off white

3) Once the top coat is dry rough up the edges to show the undercoat

4) Measure out your printed design to make sure it will fit. NOTE: Make sure you flip your image so once everything dryers it will be facing the right direction. This can easily be done in Microsoft publisher.

5) Put down a layer of Gel medium wherever you would like the image to be with a foam brush.

6) Place the image Ink side down into the gel

7) Wait 24 hours until it is completely dry

8) Soak the paper in water and gently rub the paper off leaving the image. NOTE: do not do this too hard as the ink will come off and rub your image right off.

9) Once all the paper is gone and the door is completely dry, mix your acrylic paint using the base coat and top coat colors. For example since my base coat was a blue grey and my top coat was white. I mixed 1 drop acrylic blue, one drop acrylic black, and about 6-8 drops white. Mix this lightly together so that it is not all one color but a tie-die effect.

10) Using the foam brush lightly sweep the color all over the sign. You want it to look worn NOT smothered in color. You may want to practice on another piece of paper before attempting it on your sign.

11) Once it’s all dry polish it lightly with Minwax furniture wax. This will protect the ink and keep it from fading.

You’re done! I hope you liked this tutorial! don't forget to check out more inspiring ideas at Pink Punk Design


BEFORE: 


AFTER:


Friday, May 23, 2014

How to Make an Outside Birdcage Light


I bought this bridge with the intent of making it into a bird feeder; however after looking at it a bit I thought it would be much cooler as an outside birdcage light that I hung from the tree. 


WHAT YOU NEED:

Birdcage
Spray polyurethane
Mini shade (the ones you put onto the small lights of a chandelier)
Solar light

HOW TO: 

1) If your birdcage is not painted go ahead and paint it whatever color you would like. I bought mine as a steal at an antique mall and it was already painted for me. 

2) Spray polyurethane over the entire thing. This will repel the weather it will be going through and preserve the paint from chipping. 

3) Place the birdcage wherever you would like it to be (in a tree, on a shepherds hook, sitting on your porch ext.)  

4) Take apart the mini shade leaving ONLY the wire frame

5) Take the post off of the solar light which will leave a small round “nub” at the bottom. 

6) Place the mini shade upside-down in the cage. 

7) Place the solar light in the two rungs that would normally hold the light if it were to go onto a chandelier. The "nub Should fit into the wire.


ENJOY! You’re done!
I wish I could show you the cool design the light makes on the ground but the camera would not pick it up! It’s really beautiful!


Tuesday, May 20, 2014

Ikea side dresser into a unique piece of furniture


Hello Again! Its Karen and Laurie from Pink Punk Design!

Today we are going to show you how to make an Ikea side dresser into a unique piece of furniture! 

You can buy a 3 drawer chest from Ikea for $34.99 it’s unfinished so it’s a perfect canvas for creating your person style. This is what we did, but like always use your imagination and personal style to create yours!


WHAT YOU NEED: 

3 drawer chest
Paintable wallpaper
Wallpaper adhesive
White primer
Pink Spray paint
Silver Spray Paint
Drawer knobs

HOW TO:  

1) After putting together the chest spray paint the inside of the drawers pink or whatever color you choose!

2) Paint the rest of the chest with white primer

3) Measure and cut the paintable wallpaper to fit all sides, top, and front of the drawers.

4) Adhere the wallpaper to each section paying close attention to the corners and edges.

5) Once it’s dry spray paint the chest all silver or once again whatever color you choose.

6) Add the new knobs once the whole thing is dry

- YOUR DONE! -

Hope you have fun! And if you have any questions please feel free to ask below and visit us on Pink Punk Design for more creative ideas. 


CHAIRS TO BENCH!


Hello everyone! 

I thought I would take a minuet to teach you how to make a bench using chairs. Laurie and I have made 2 of these in the past and they are unique one of a kind pieces that will have your friends asking you were you got it. 

The Key to this whole project is to make sure that your chairs are ALL the same height. You can use 2 chairs or 3 or really as many as you would like! Note that 2 or 3 chairs are your stranded with for a bench but be creative and use your imagination.The chairs DO NOT have to be all the same style! As long as the hight is all the same you are good!


WHAT YOU NEED:

2 -3 Chairs
Cordless screw gun
Drill bit
Screws & Nuts
Wood
Fabric
Padding
Spray glue
Paint

HOW TO: 

1) Align your chairs up next to each other so they are touching

2) Every spot that the chairs come in contact with each other drill a hole from one chair to the next. For example were the legs touch drills a hole from one leg into the next. Do this to all the legs and parts of the seat that touch.

3) Put the screws into each drilled out hole and lock them tights with the nuts. 

4) Cut your wood to fit across all the seats of the chairs. Taking special note to any curves in the chairs. You want this to be the new top to the seats. 

5) Screw the wood you just cut to the tops of the chairs. 

6) Paint the entire piece however you would like or keep it natural it’s all up to you and your creativity. 

7) Once the paint is dry pad the tops of the seats. Use the spray glue to adhere the padding to the top of the chairs. 

8) Upholster the chair in the fabric you choose. And you are DONE! 


NOTE that you DO NOT have to pad or upholster the chairs if you do not want to. This is your personal preference. Also you do not have to align the chairs up diresctly side by side. Try aligning them from to front for an even more unique look! And if you have any questions please feel free to ask below. I will answer them as soon as I can. Also visit up on Pink Punk Design for more tips and tricks and ideas.   


SOME MORE IDEAS: